MyGymBuild
Sign In
MyGymBuild
Sign In
Your Step-by-Step DIY Build

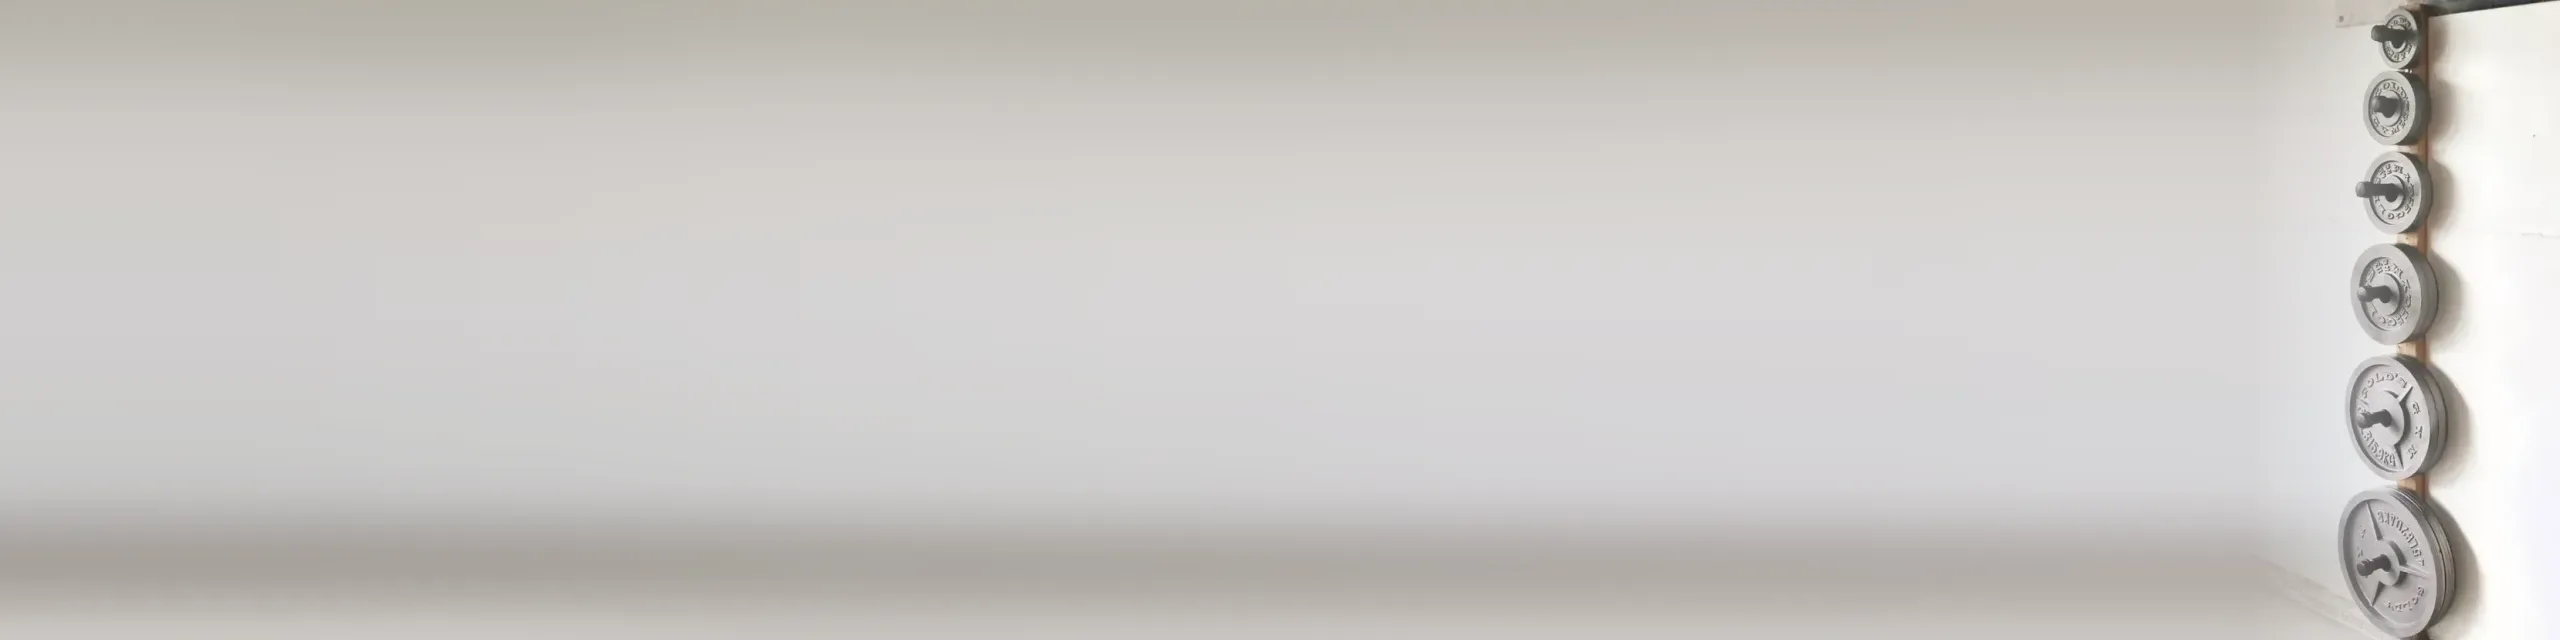
DIY Olympic Plate Tree

A stud-mounted rack of threaded-pipe pegs that gets your Olympic plates off the floor and sorted by size.

Part 01

Build Steps

One card at a time — your progress is saved.

0 of 6 steps done0%
01
01Step 1 of 6

Watch the build and plan your layout

Play Testify's linked video end-to-end first — it walks the whole stud-mounted board, flange, and threaded-peg layout. Decide how many pegs you need and their spacing: space them far enough apart vertically and horizontally that a fully loaded peg of large bumpers clears the pegs around it.

TipSix pegs across one 2x6 holds roughly 300 lb of plates — plenty for most garage setups. Group by diameter so plates of the same size share a peg.
02
02Step 2 of 6

Cut and finish the board

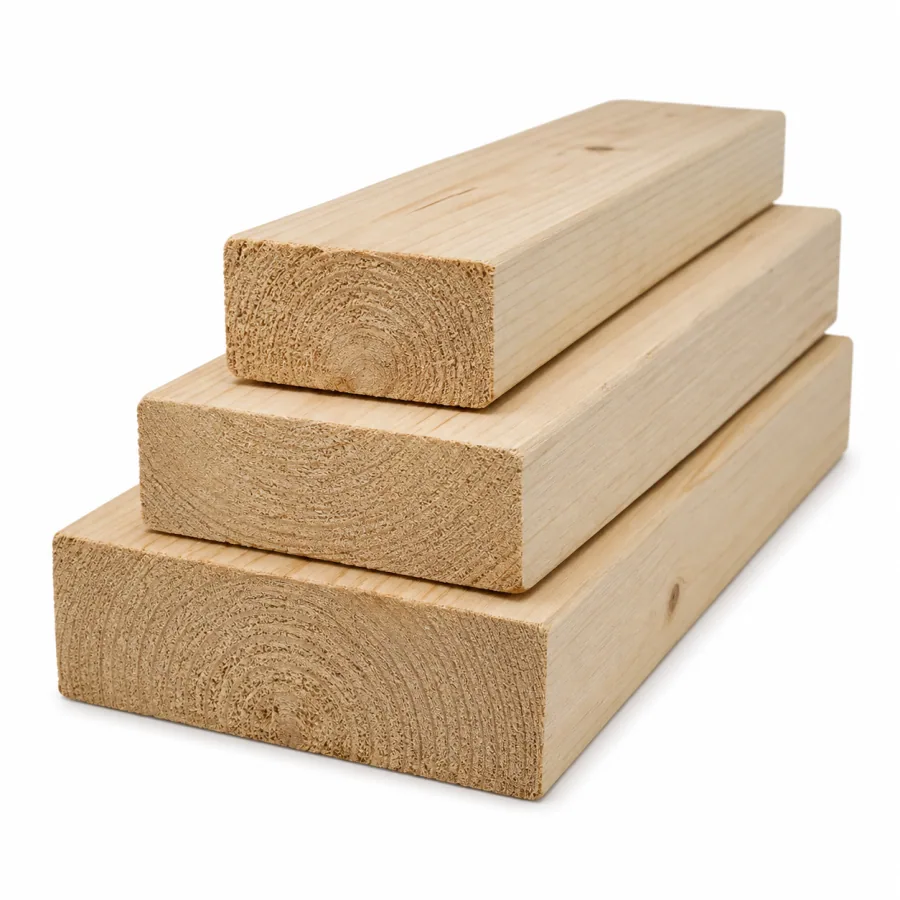
Cut the 2x6 to length so it spans at least two studs (16" apart on standard framing; three studs / ~32" is even more solid). Sand it smooth, then prime and paint if you want the finished look from the video. Let paint fully cure before mounting.

03
03Step 3 of 6

Cut the nipples into pegs

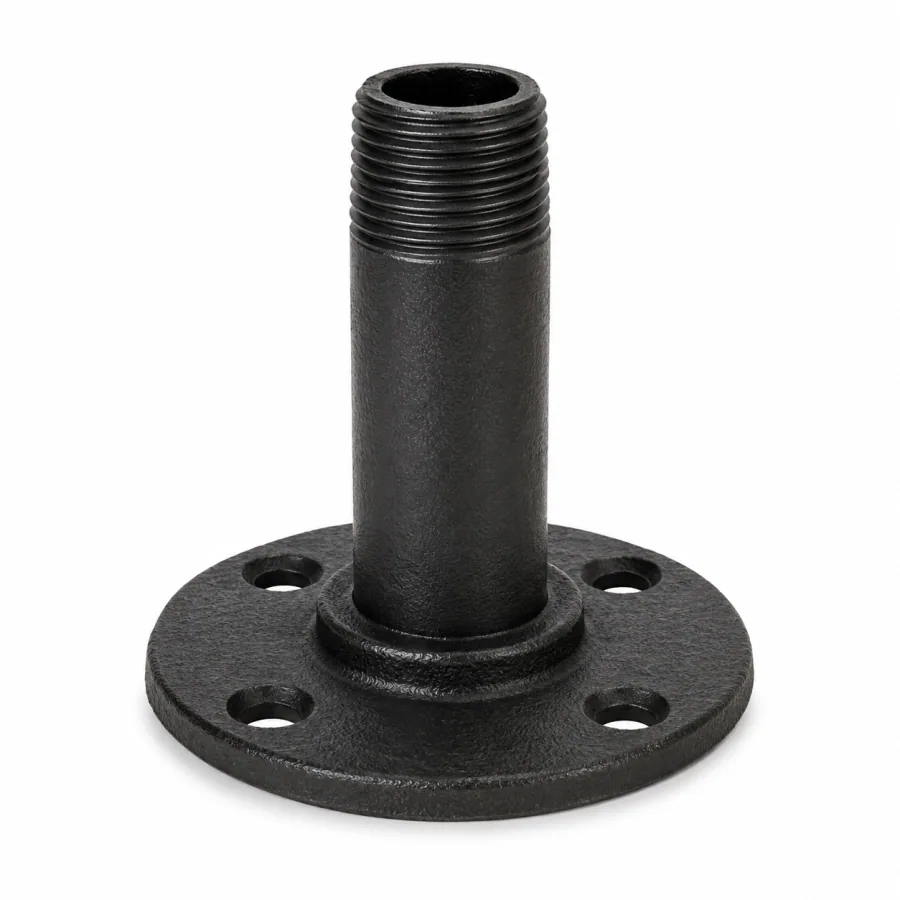
Clamp each 12" threaded nipple and cut it in half with a hacksaw or pipe cutter to make two 6" pegs — three nipples give you six pegs. Each piece keeps one factory-threaded end (that end goes into the flange).

WarningCut ends are sharp and leave a burr. File or deburr every cut end so it won't bite your hands or scratch plates when you load them.
04
04Step 4 of 6

Mount the flanges and thread in the pegs

Mark the six flange positions on the board face and pre-drill pilot holes. Fasten each flange with four short wood screws, then thread a peg (factory-threaded end first) into each flange — hand-tight plus a snug quarter-turn with the wrench.

TipDry-fit one flange + peg against a plate first to confirm your spacing clears a loaded peg before drilling all six.
05
05Step 5 of 6

Mount the board to the studs

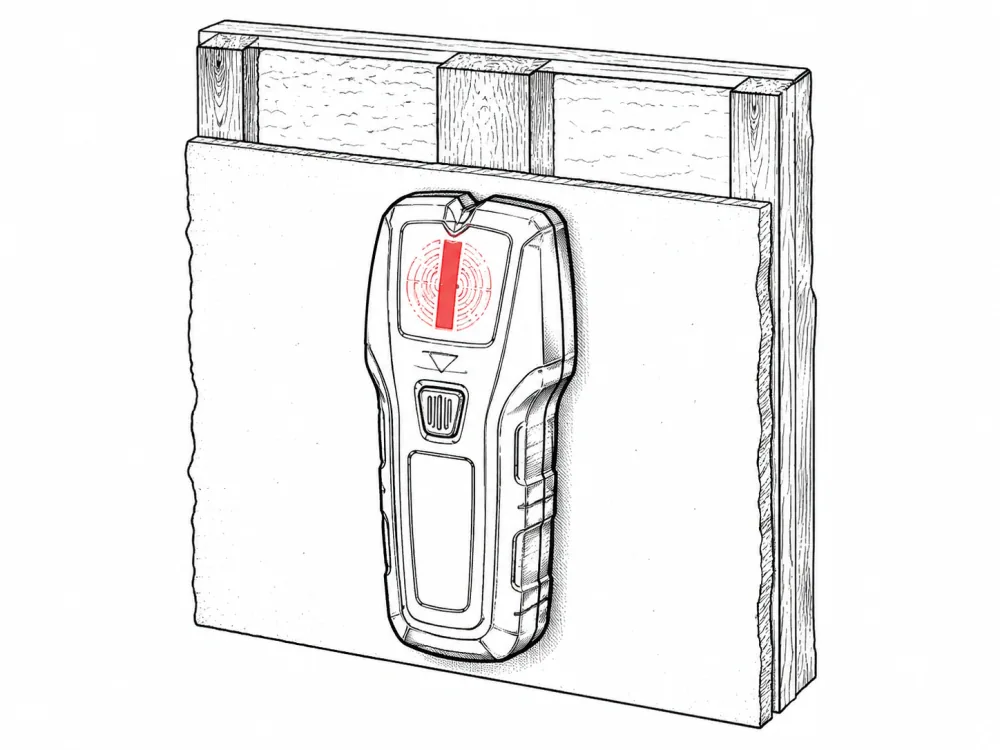
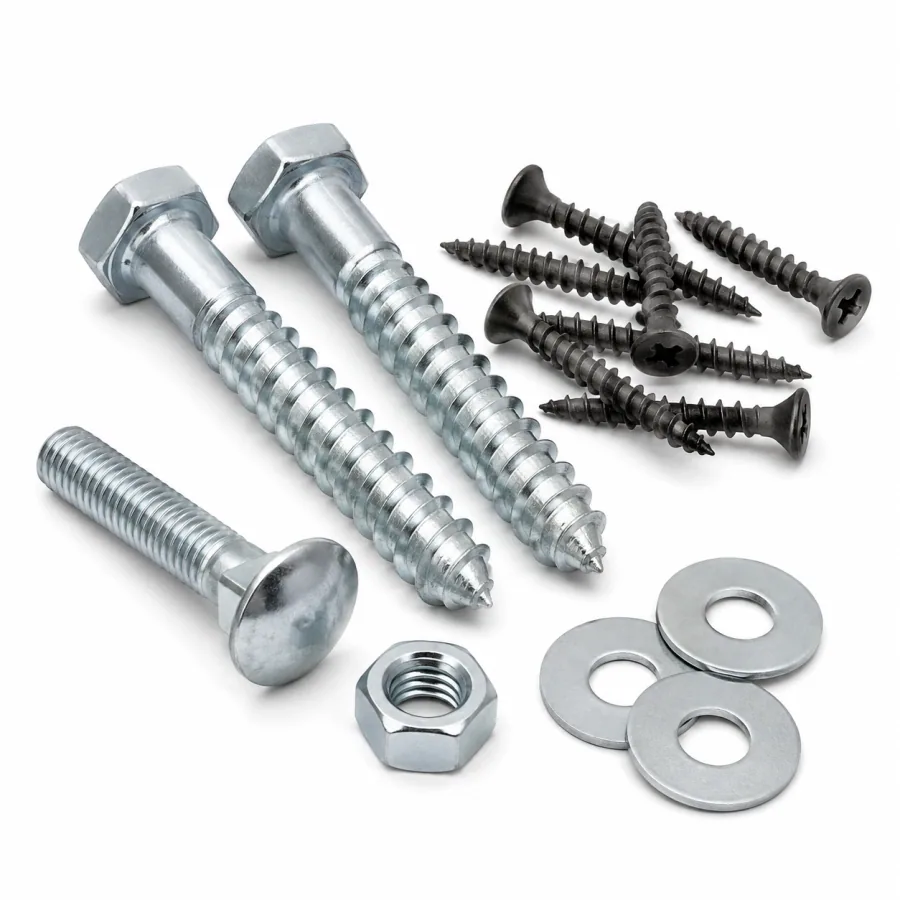
Find and mark your studs with the stud finder. Hold the board level against them, drive one construction screw per stud at the top, re-check level, then drive the rest — two 3/8" × 4" screws into each stud. Every screw must hit solid stud framing.

WarningNever anchor a loaded plate rack into drywall alone. If your wall is bare concrete block, swap the construction screws for masonry/concrete anchors rated for the load.
06
06Step 6 of 6

Load light to heavy and test

Load your lightest plates first, one peg at a time, and watch the board for any pull-away from the wall before adding your heaviest plates. A solid mount won't flex — if it does, add another screw into the studs.

TipKeep the heaviest plates on the lower pegs so the rack's center of gravity stays low.

Part 02

Reference Video

Watch the whole build on YouTube before you cut anything.

YouTube

Watch the full build on YouTube

Tap to watchOpen ↗

Part 03

Tools You Need

Have these on the bench before you start.

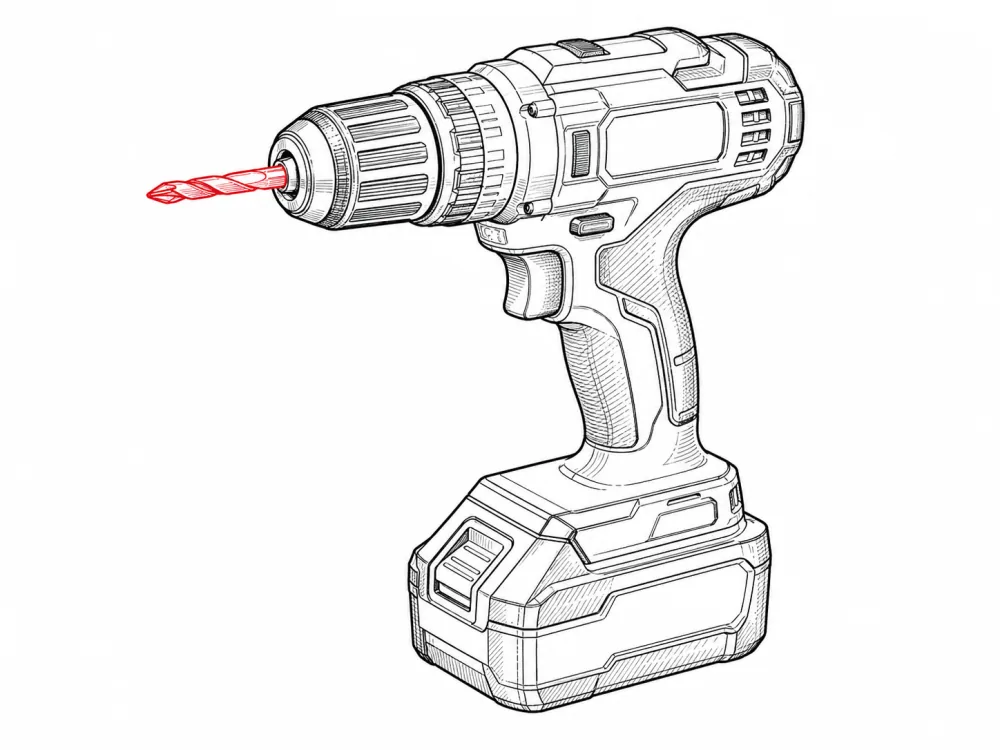
  • Drill/driverDrill/driver
  • Stud finderStud finder
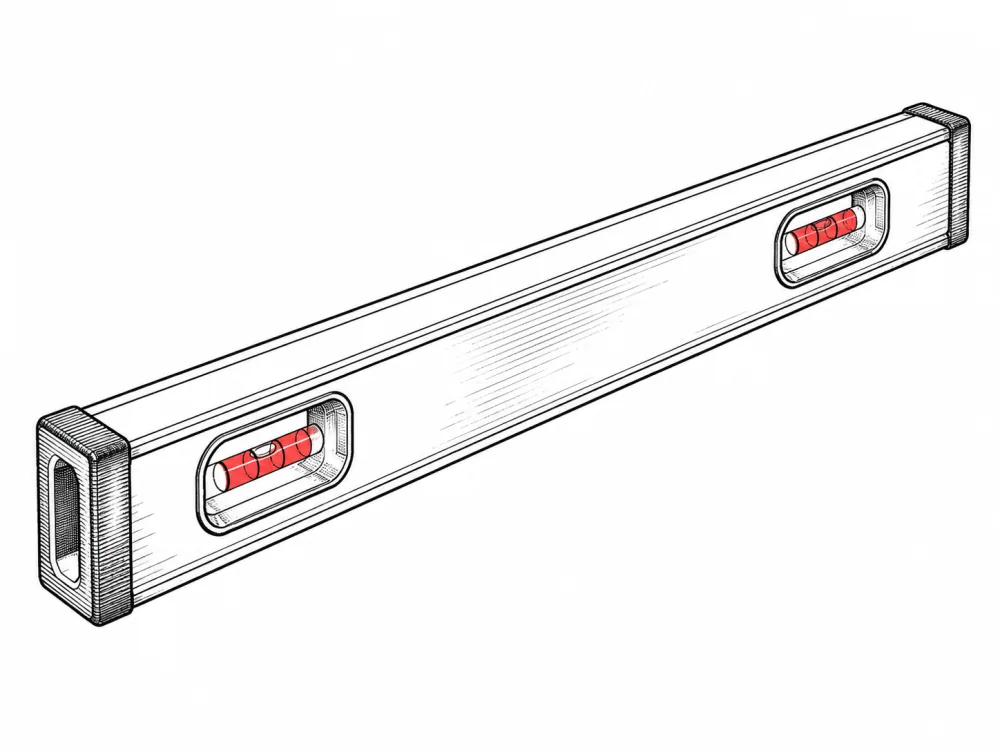
  • LevelLevel
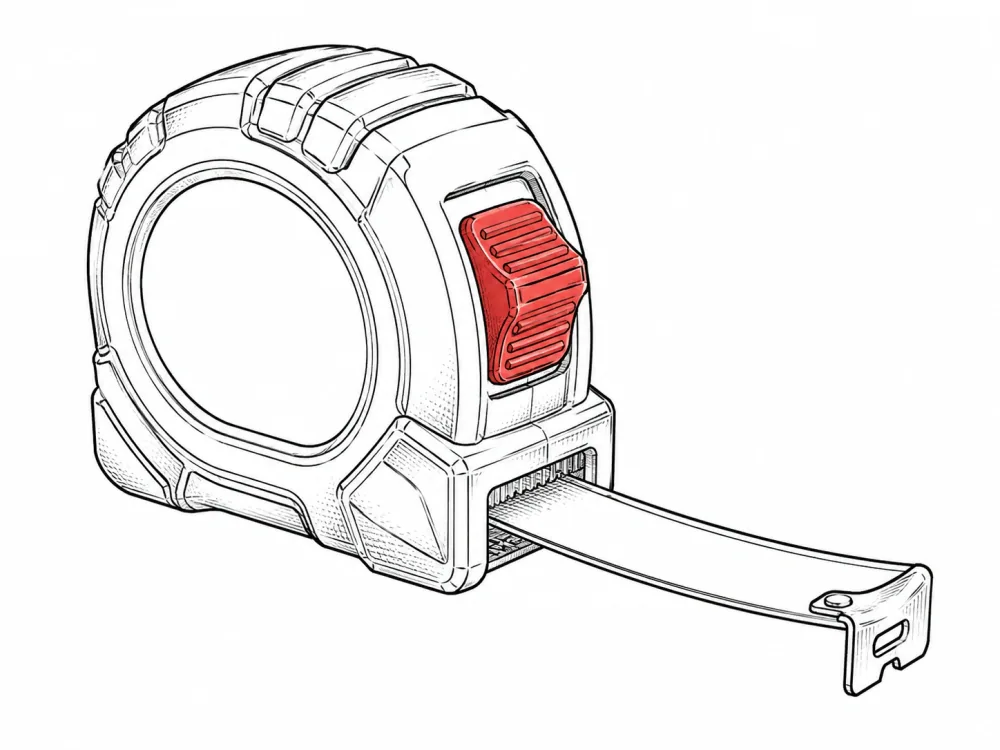
  • Tape measureTape measure
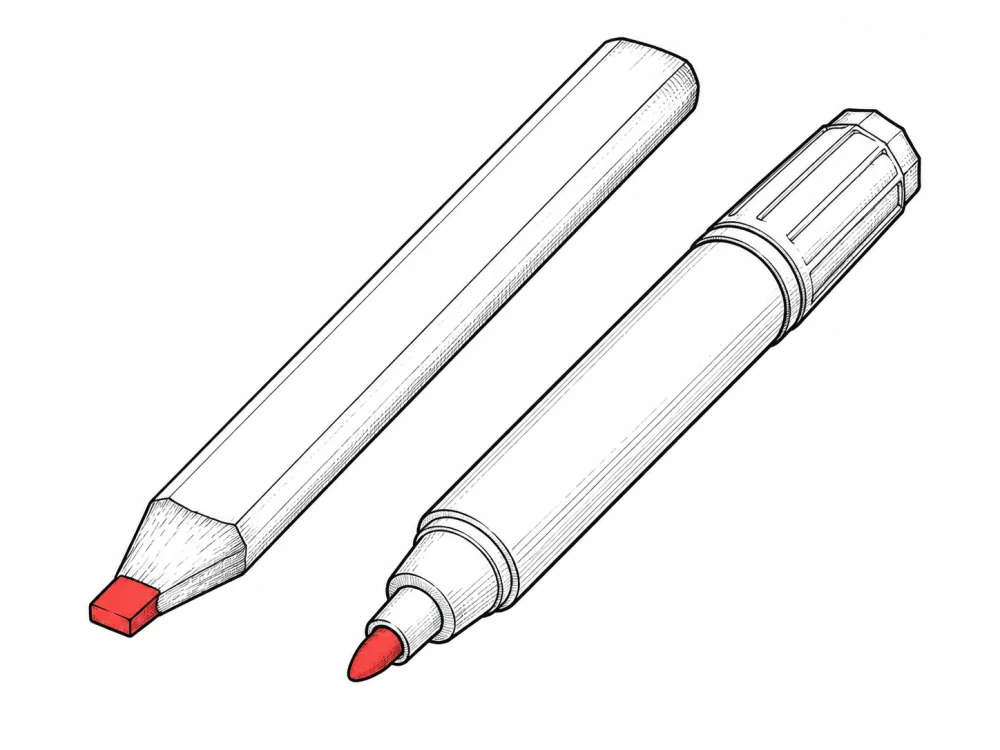
  • PencilPencil
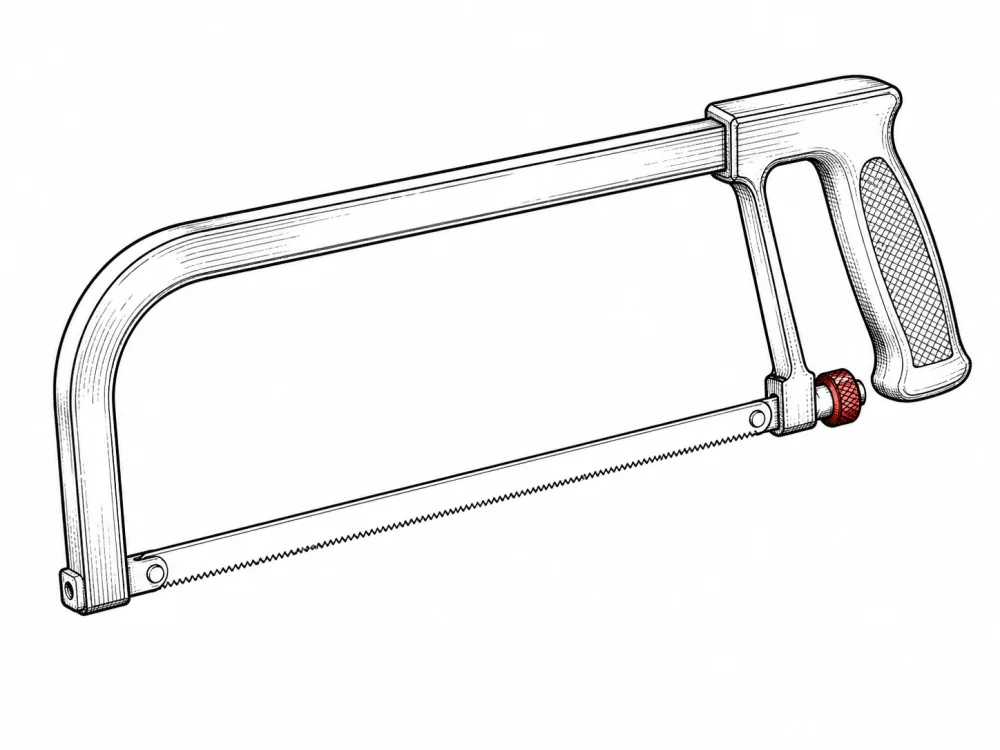
  • Hacksaw or pipe cutterHacksaw or pipe cutter
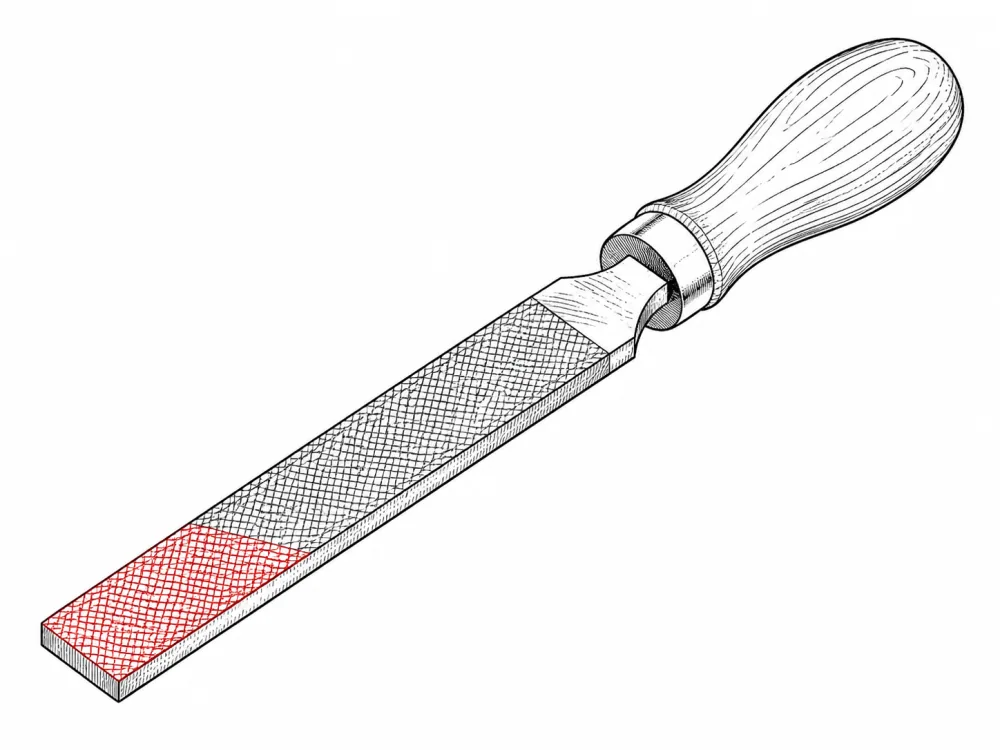
  • Metal file (deburr cut ends)Metal file (deburr cut ends)
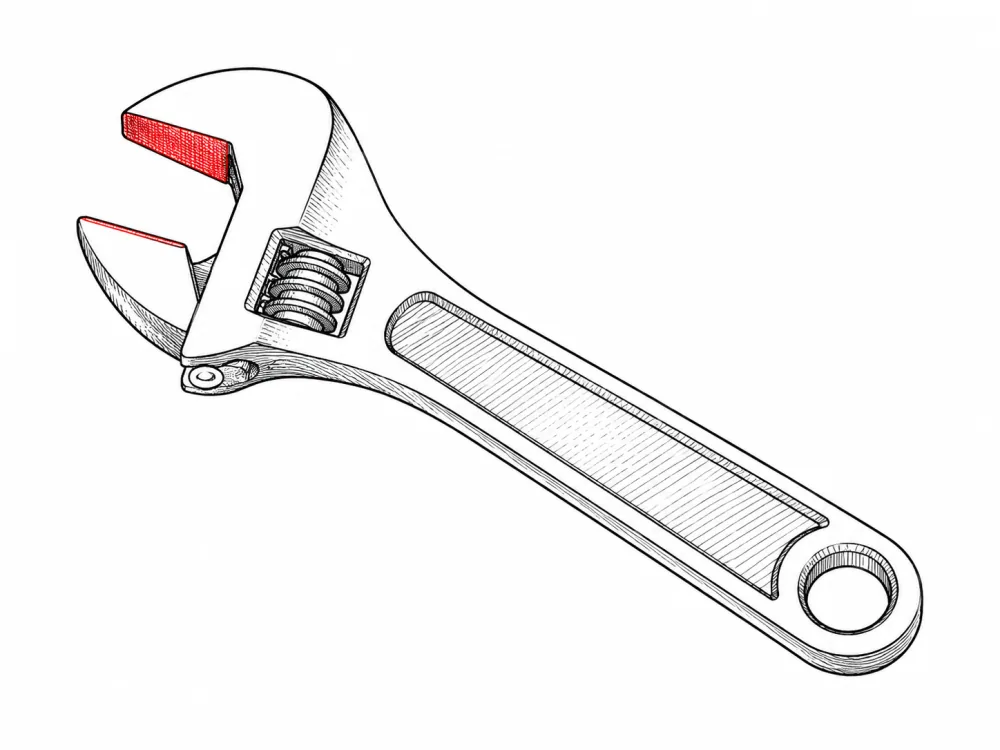
  • Adjustable wrenchAdjustable wrench

Part 04

Materials

The full parts list, with sizes and quantities.

  • 2x6 lumber

    2x6 lumberThe backer the flanges screw into. The video sands and paints it first for a finished look.

    ~4 ft (to span 2–3 studs)

    1
  • 1-1/4" pipe floor flanges

    1-1/4" pipe floor flangesOne per peg. The flange screws to the board and the peg threads into it.

    6
  • 1-1/4" threaded pipe nipples

    1-1/4" threaded pipe nipplesEach 12" nipple is cut in half to make two 6" pegs — 3 nipples → 6 pegs. The factory-threaded end goes into the flange.

    12" long

    3
  • Construction/structural screws

    Construction/structural screwsTwo per stud, through the board into the framing — these carry the whole plate load.

    3/8" × 4"

    14
  • Wood screws (short)

    Wood screws (short)Four per flange to fasten the flanges to the board.

    24 (1.5")
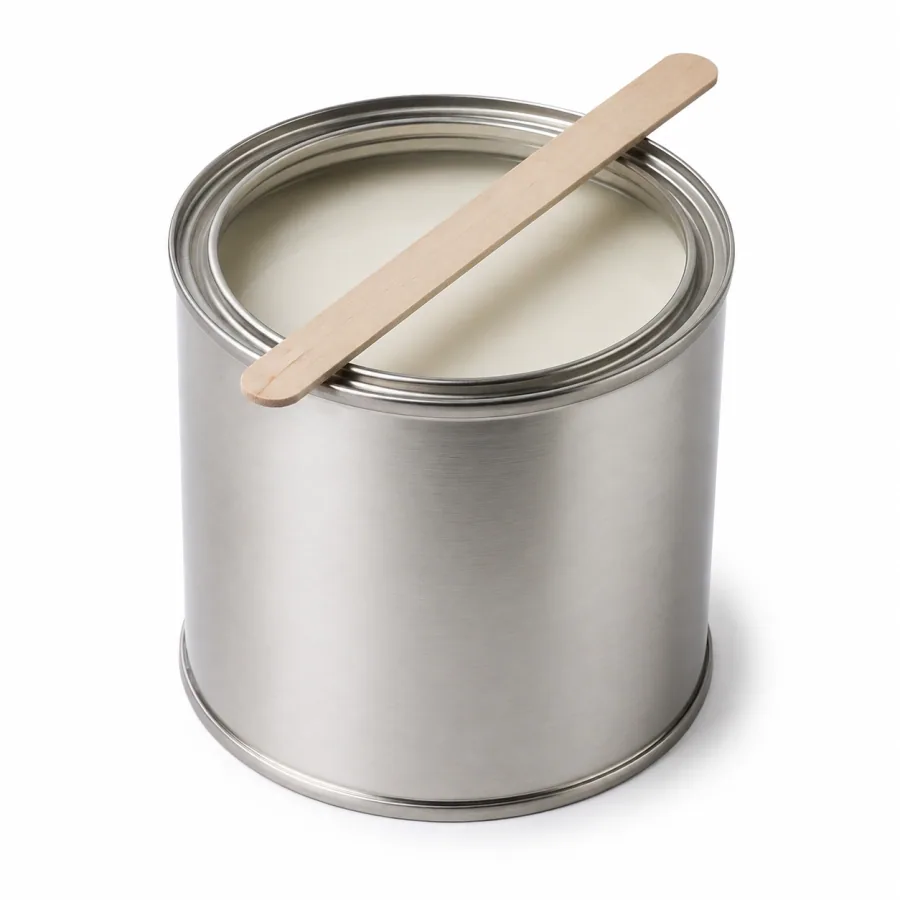
  • Primer + paint

    Primer + paintSeal and finish the 2x6 before mounting, like the video does.

    optional